If you write a lot of notes, chances are you’ve used tables to keep track of things. Creating a table makes it easy for you to catalog all sorts of essential information, providing a structured framework that makes it easier to understand. However, tables are only as good as their formatting. We have covered tables in previous blog posts such as Using Bear to Stay Organized in 2024 and Bear Your Way: Take better notes for the student in all of us – Part 2 . You may feel like you know everything there is to know tables but trust us, there is still so much to explore.
Let’s jump into some tips that can take your tables to a whole new level of organization. 🚀
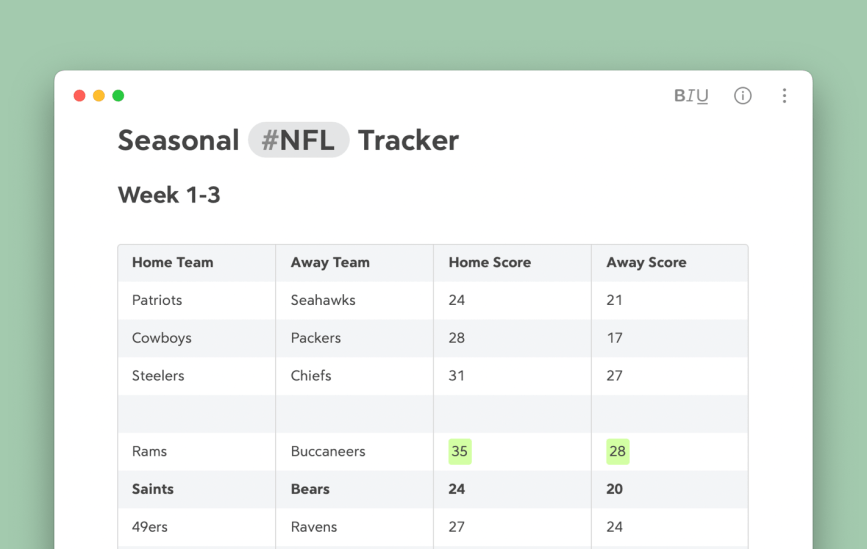
1. Align Text in Tables
Ensure that your tables are easy to read and understandable at a glance. Aligning text in your tables can make information stand out more and bring order to long complex tables. To do this, right-click the 3 dot menu in any column and choose Align column, you will then be able to define left, center, or right placement for your text.

2. Copy Tables from Numbers
Bear makes it really easy to copy and paste tables from lots of other programs such as Numbers, Google Sheets, or even Microsoft Excel. If you’ve created a table in another software and now want to move it into your Bear notes for easy access, you don’t need to stress, you can do so easily with the steps below.
To do this, right-click anywhere in a table OR hover on the table and click the three-dot menu in any cell of the table. Right-click and choose Copy As > HTML. You can then paste your table into Bear and watch as it magically reformats into our beautiful style.
Check out our post on X covering this topic
3. Shortcuts & Shortcuts (the app)
Navigating tables doesn’t have to be filled with endless mouse clicking, when you have a good keyboard workflow you can double your work speed. We are huge fans of keyboard shortcuts here at Bear, so let’s share some useful table shortcuts that will change the game for your table editing.
- ⌥⌘T – Create Table – This shortcut will start a new table wherever your caret rests.
- ^⌘⏎ – Add Row – The easiest way to quickly add a new row to your table.
- ⇧⌘⏎ – Add Column – The easiest way to quickly add a new column to your table.
- ^⌘⌫ – Delete Row – No longer need a row, simply delete it.
- ^⇧⌘⌫ – Delete Column – No longer need a column, simply delete it.
Recently, due to popular demand by users, we changed the add row and add column shortcuts to ones that were easier for users. Previously they had been quite complex, so make good use of our efforts and if you enjoy them, thank the community. 😄

Keyboard shortcuts are handy, but for a real shortcut in creating tables, try using Shortcuts (the app) to create some pre-formatted tables. Kickstart your editing and save you time re-formatting the same tables over and over again. Creating table templates will not only save you time, but it will also save your sanity if you make a lot of similar content. Check out our templates blog to learn more about how to create useful base notes and dabble in creating Shortcuts.
Here’s a Shortcut we made to help you jumpstart your tables
4. Keep tables clean and clear
To best keep your tables and formatting clean, use short phrases, and try to exclude long explanations. Another aspect to keep in mind is white space, consider leaving a blank row between large blocks of text, or different topics to improve readability and make it visually appealing. White space helps to separate your data and make it appear visually cleaner.
Use formatting styles such as bold or italics to bring attention to important data or trends within the table. This draws the eyes to critical points and makes them stand out for the viewer.

5. Table tips for iOS
Creating tables on iOS is just as easy as on macOS, our BIU keyboard makes formatting, styling, and navigating your tables a breeze.
To create a table, tap the BIU button in the Keyboard Suggestions Bar at the bottom of your screen or on top of the on-screen keyboard. In the menu that appears, tap the tables button. This will give you the beginning cells of a table, something to keep in mind:
- The first row of every table is bolded, so it’s great for headings or descriptor information.
- From any menu in a table, you can copy the table to your clipboard as CSV, HTML, or Markdown.
- Using the BIU keyboard, try playing around with column/row keys to quickly get the hang of what they do.

Round Table Wrap-Up
Now that you know how to use tables effectively, whether planning a report, managing a project, or simply organizing your thoughts, you can rely on tables to be your trusted friend, bringing clarity and structure to your unruly data.
Reach out to us on our new Community Forum, Reddit, Twitter, Facebook, or directly at bear@shinyfrog.net and show us some of your beautiful tables.